How to Upgrade to Windows 11 : A Quick Step-by-Step Guide
We are entering the year 2025, and keeping up with technology has become essential. If you’re still using an older version of Windows, you’re missing out on a range of useful features. Upgrading to Windows 11 is a straightforward process, and we’re here to guide you step-by-step.
Before You Begin
Ensure your PC is eligible for the Windows 11 upgrade by using the official Windows Compatibility Tool. This step ensures a smooth installation process without compatibility issues.
At a Glance
For those short on time, here’s a quick summary of the steps:
- Basics: Select your country/region and keyboard layout.
- Wi-Fi Setup: Connect to your wireless network with the password.
- Device Name: Give your PC a unique, recognizable name.
- Personalization: Log in using a Microsoft account, set a PIN, and adjust privacy settings.
- Backup Files: Choose local storage or sync with OneDrive. Skip installing Office unless needed.
Step 1: Select Country and Keyboard Layout
Start your PC or laptop. When prompted, confirm the correct country or region:
- Look for the prompt: “Is this the correct country or region?”
- Select your location and click Yes.
Next, choose your keyboard layout, such as US. Click Yes, then click Skip if no additional layouts are required.
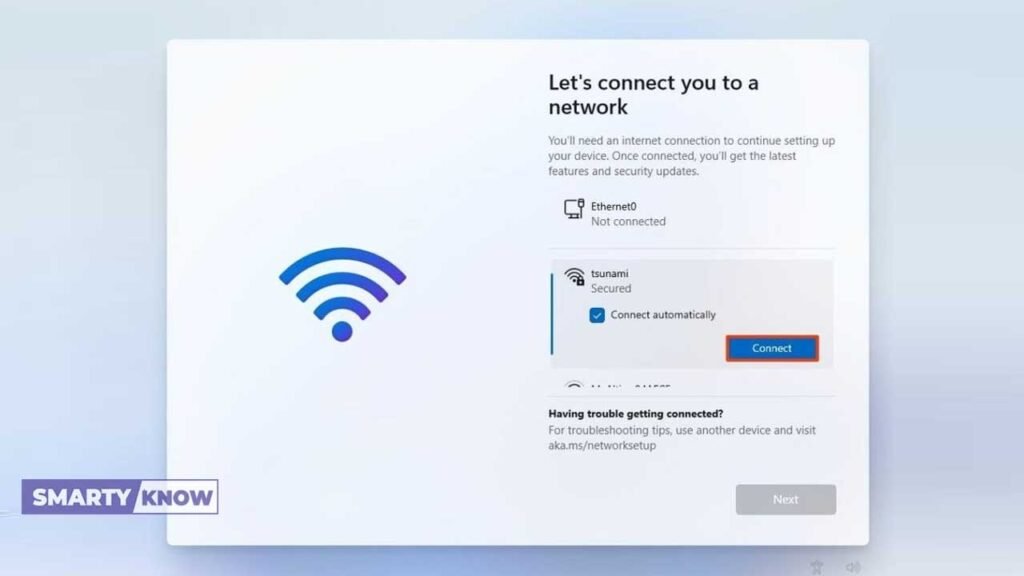
Step 2: Connect to Wi-Fi
To proceed, set up your internet connection:
- If your PC is connected to Wi-Fi, it will automatically configure the network.
- If not, select your Wi-Fi network from the list, enter the password, and click Connect.
Click Next to proceed.
Step 3: Name Your Device
Choose a suitable name for your PC to make it easier to identify:
- Examples: “WorkPC” or “FamilyLaptop.”
- Use 15 characters or fewer, avoid special characters and numbers.
You can skip this step and complete it later, but setting it now simplifies device identification on networks and your Microsoft account.
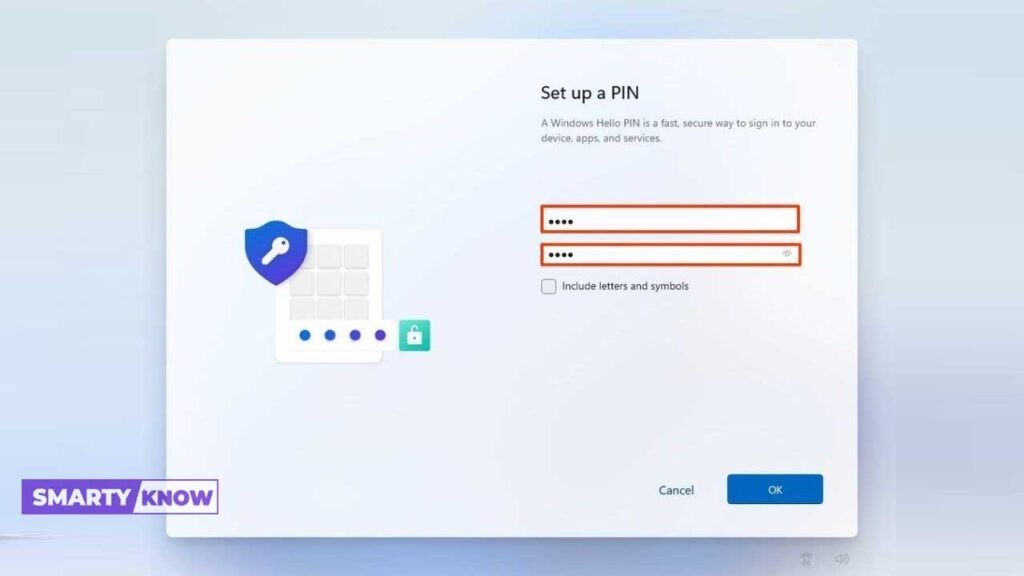
Step 4: Set Up Security and Privacy
- Account Setup: Use your email ID to create a local account. If your system runs Windows 11 Home, you must use a Microsoft account for the first setup.
- Create a PIN: Opt for a PIN for quick and secure login. Alternatively, click Cancel to use a password instead.
- Device Setup: Choose “Set up as a new device” unless restoring previous settings. Follow on-screen prompts and click Next.
- Privacy Settings: Adjust privacy settings according to your preferences. Scroll down and click Accept.
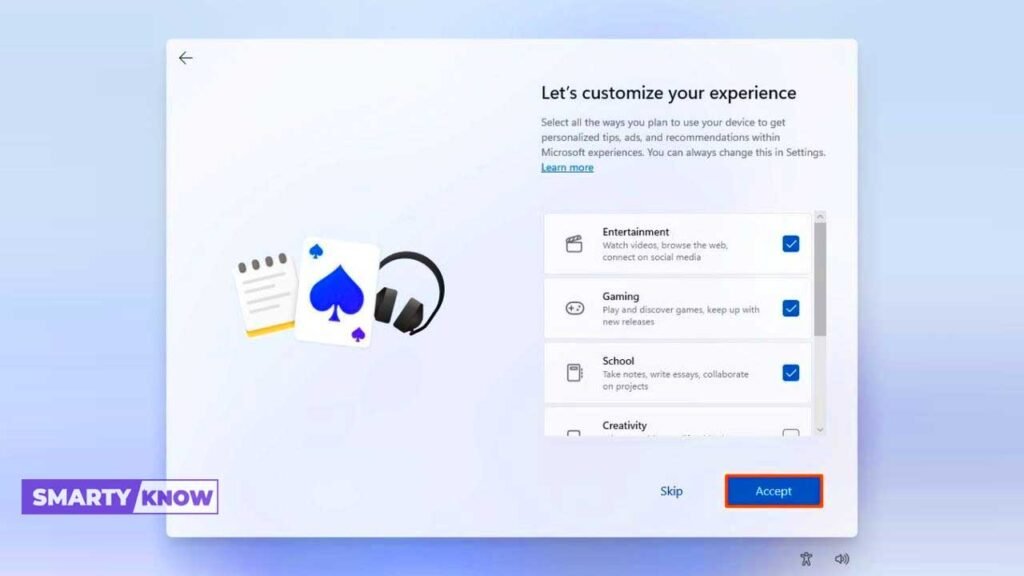
Optional: Choose whether to receive ads tailored to your preferences. Click Accept or Skip to proceed.
Step 5: Manage Saved Files and Backup
- Choose “Save files only to this device” if you prefer local storage. To sync files using OneDrive, click Next.
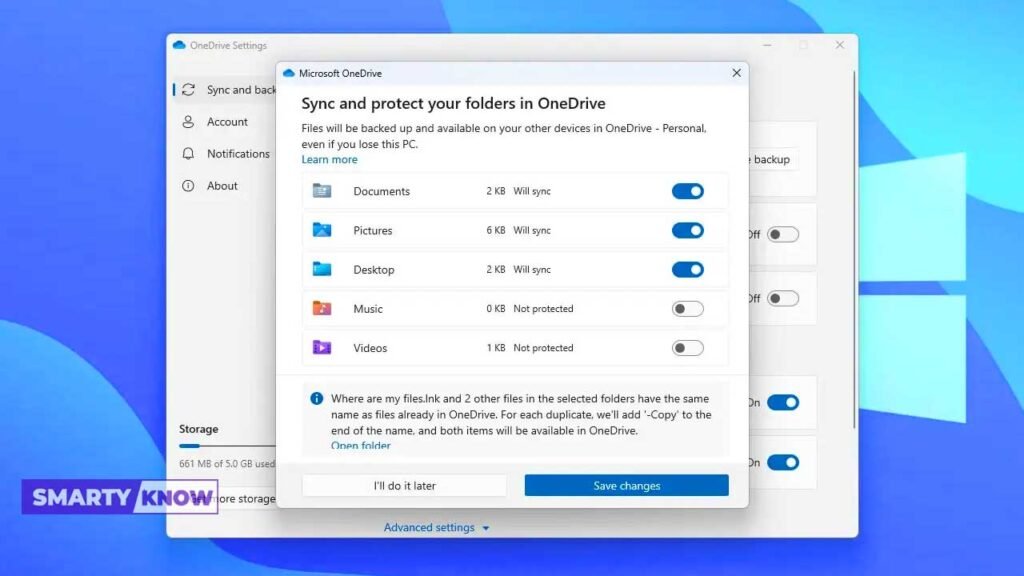
- If prompted to install Office, select No Thanks unless you have a Microsoft 365 subscription. You can install Office later if needed.
Congratulations !
Your PC or laptop is now upgraded to Windows 11. The Windows 11 desktop will appear, ready for you to explore its features and enhancements.
With these steps, you’re all set to enjoy the enhanced features and performance of Windows 11.
Why Upgrade to Windows 11?
Upgrading your old Windows system to Windows 11 offers:
- Improved Performance: Faster and more efficient computing.
- Enhanced Security: Robust security features to keep your data safe.
- Modern Design: A fresh, intuitive interface.
- New Features: Productivity tools, gaming enhancements, and more.
Start your upgrade today and experience the future of Windows!
Read also